
I have been saving this post for a rainy day – it’s supposed to rain today 🙂 I mentioned a while back when we did our little tutorial on our under the bed rolling storage crates that we created our own bed risers.
At the time, I didn’t actually fully explain how we did it or tell you how much it saved us 🙂 So here’s a quick tutorial on how to raise your bed, whatever height you want, for a fraction of the cost of buying those tacky plastic bed risers!
Materials you need:
- A decent length of 4×4 fence post (Ours was 2 feet long)
- A hand saw (or a table saw, but we don’t have one of those)
- A drill with a large bit
- Decorative paper or fabric
- Mod Podge or glue
Step One: Determine how high your risers will be. We cut ours to 6 inches each. Basically, sliced our 2 foot post into four equal parts. Make sure at least one end is as flat as you can get it because then it will sit better on the floor.
Step Two: Using your large drill bit, make a 1/2 inch to 3/4 inch (or deeper if you really want) indent in the top of the wood.

Step Three: Double check to make sure your indent is large enough to hold your bed frame leg without too much wiggling around. If it’s not, then just use your bit to expand the hole ever so slightly. You want it to be snug so it’s safe.

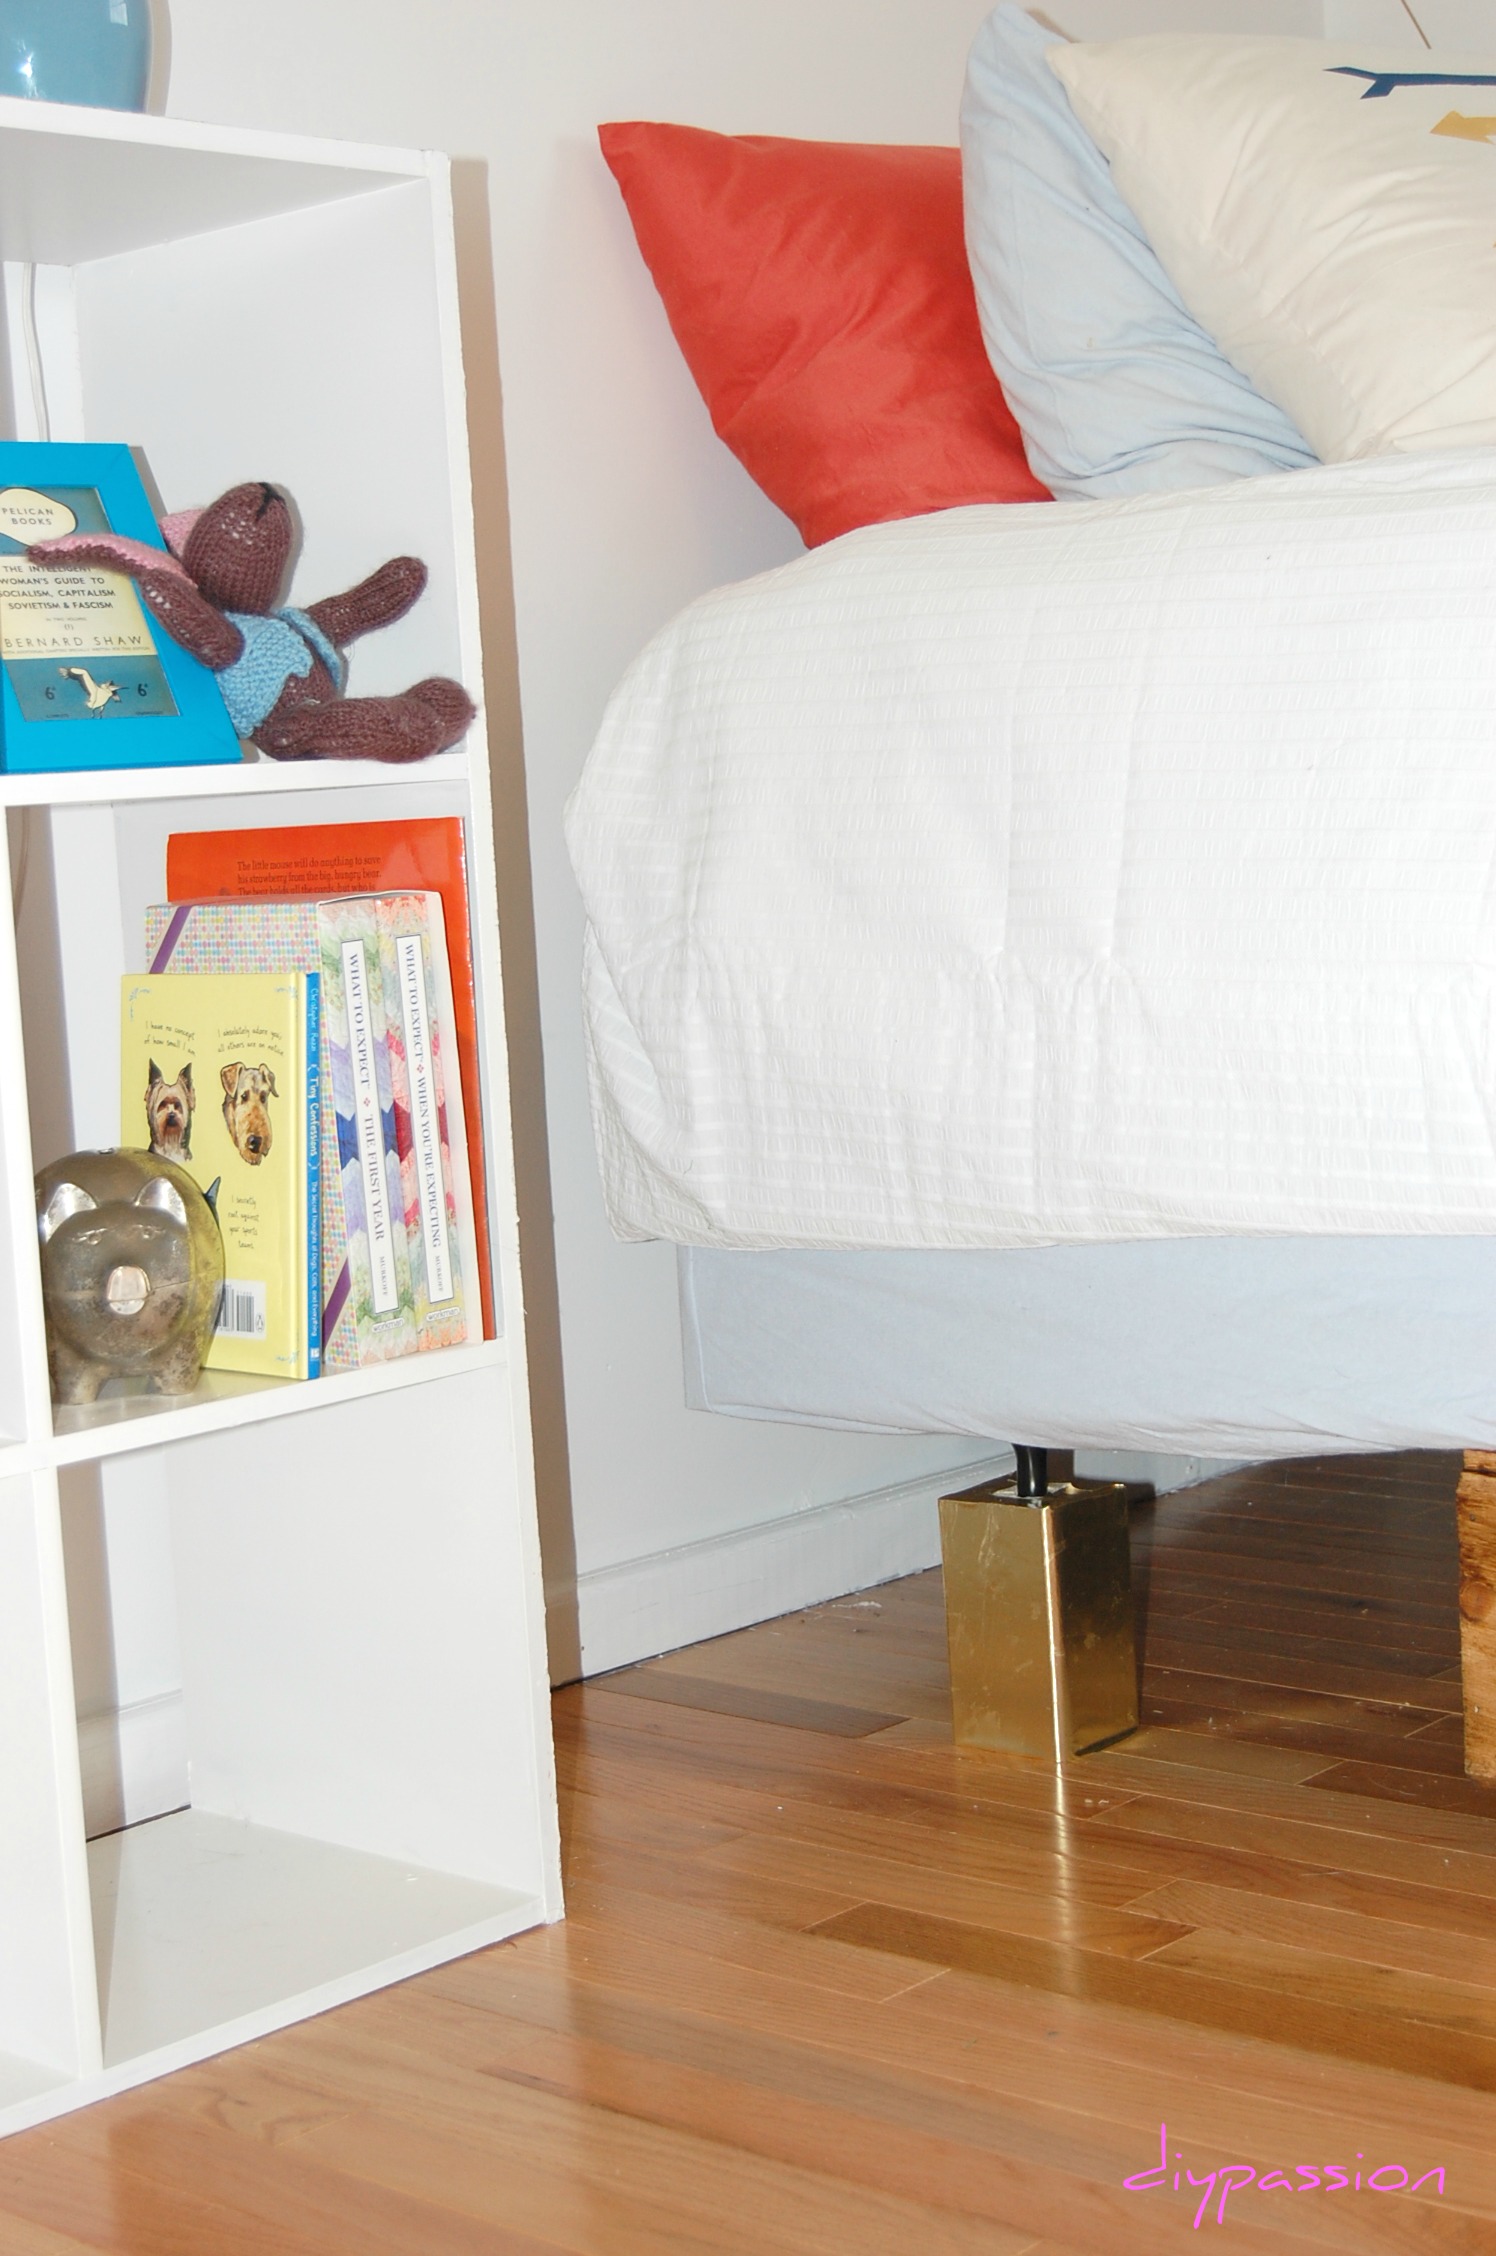
Step Four: If you don’t mind the treated wood look, you can be done now! But I chose to make ours look like gold bricks. Using gold metallic wrapping paper, I cut pieces to wrap around the risers. I applied Mod Podge to the paper and lined up the bottom of the riser to the bottom of the paper. Then I kept applying Mod Podge and tightly rolled and wrapped the riser. The last step was to fold the remaining paper around the top, kind of like a present, and trim the excess away from the indent.

Step Five: That’s it! Lift up your bed and put on your risers!
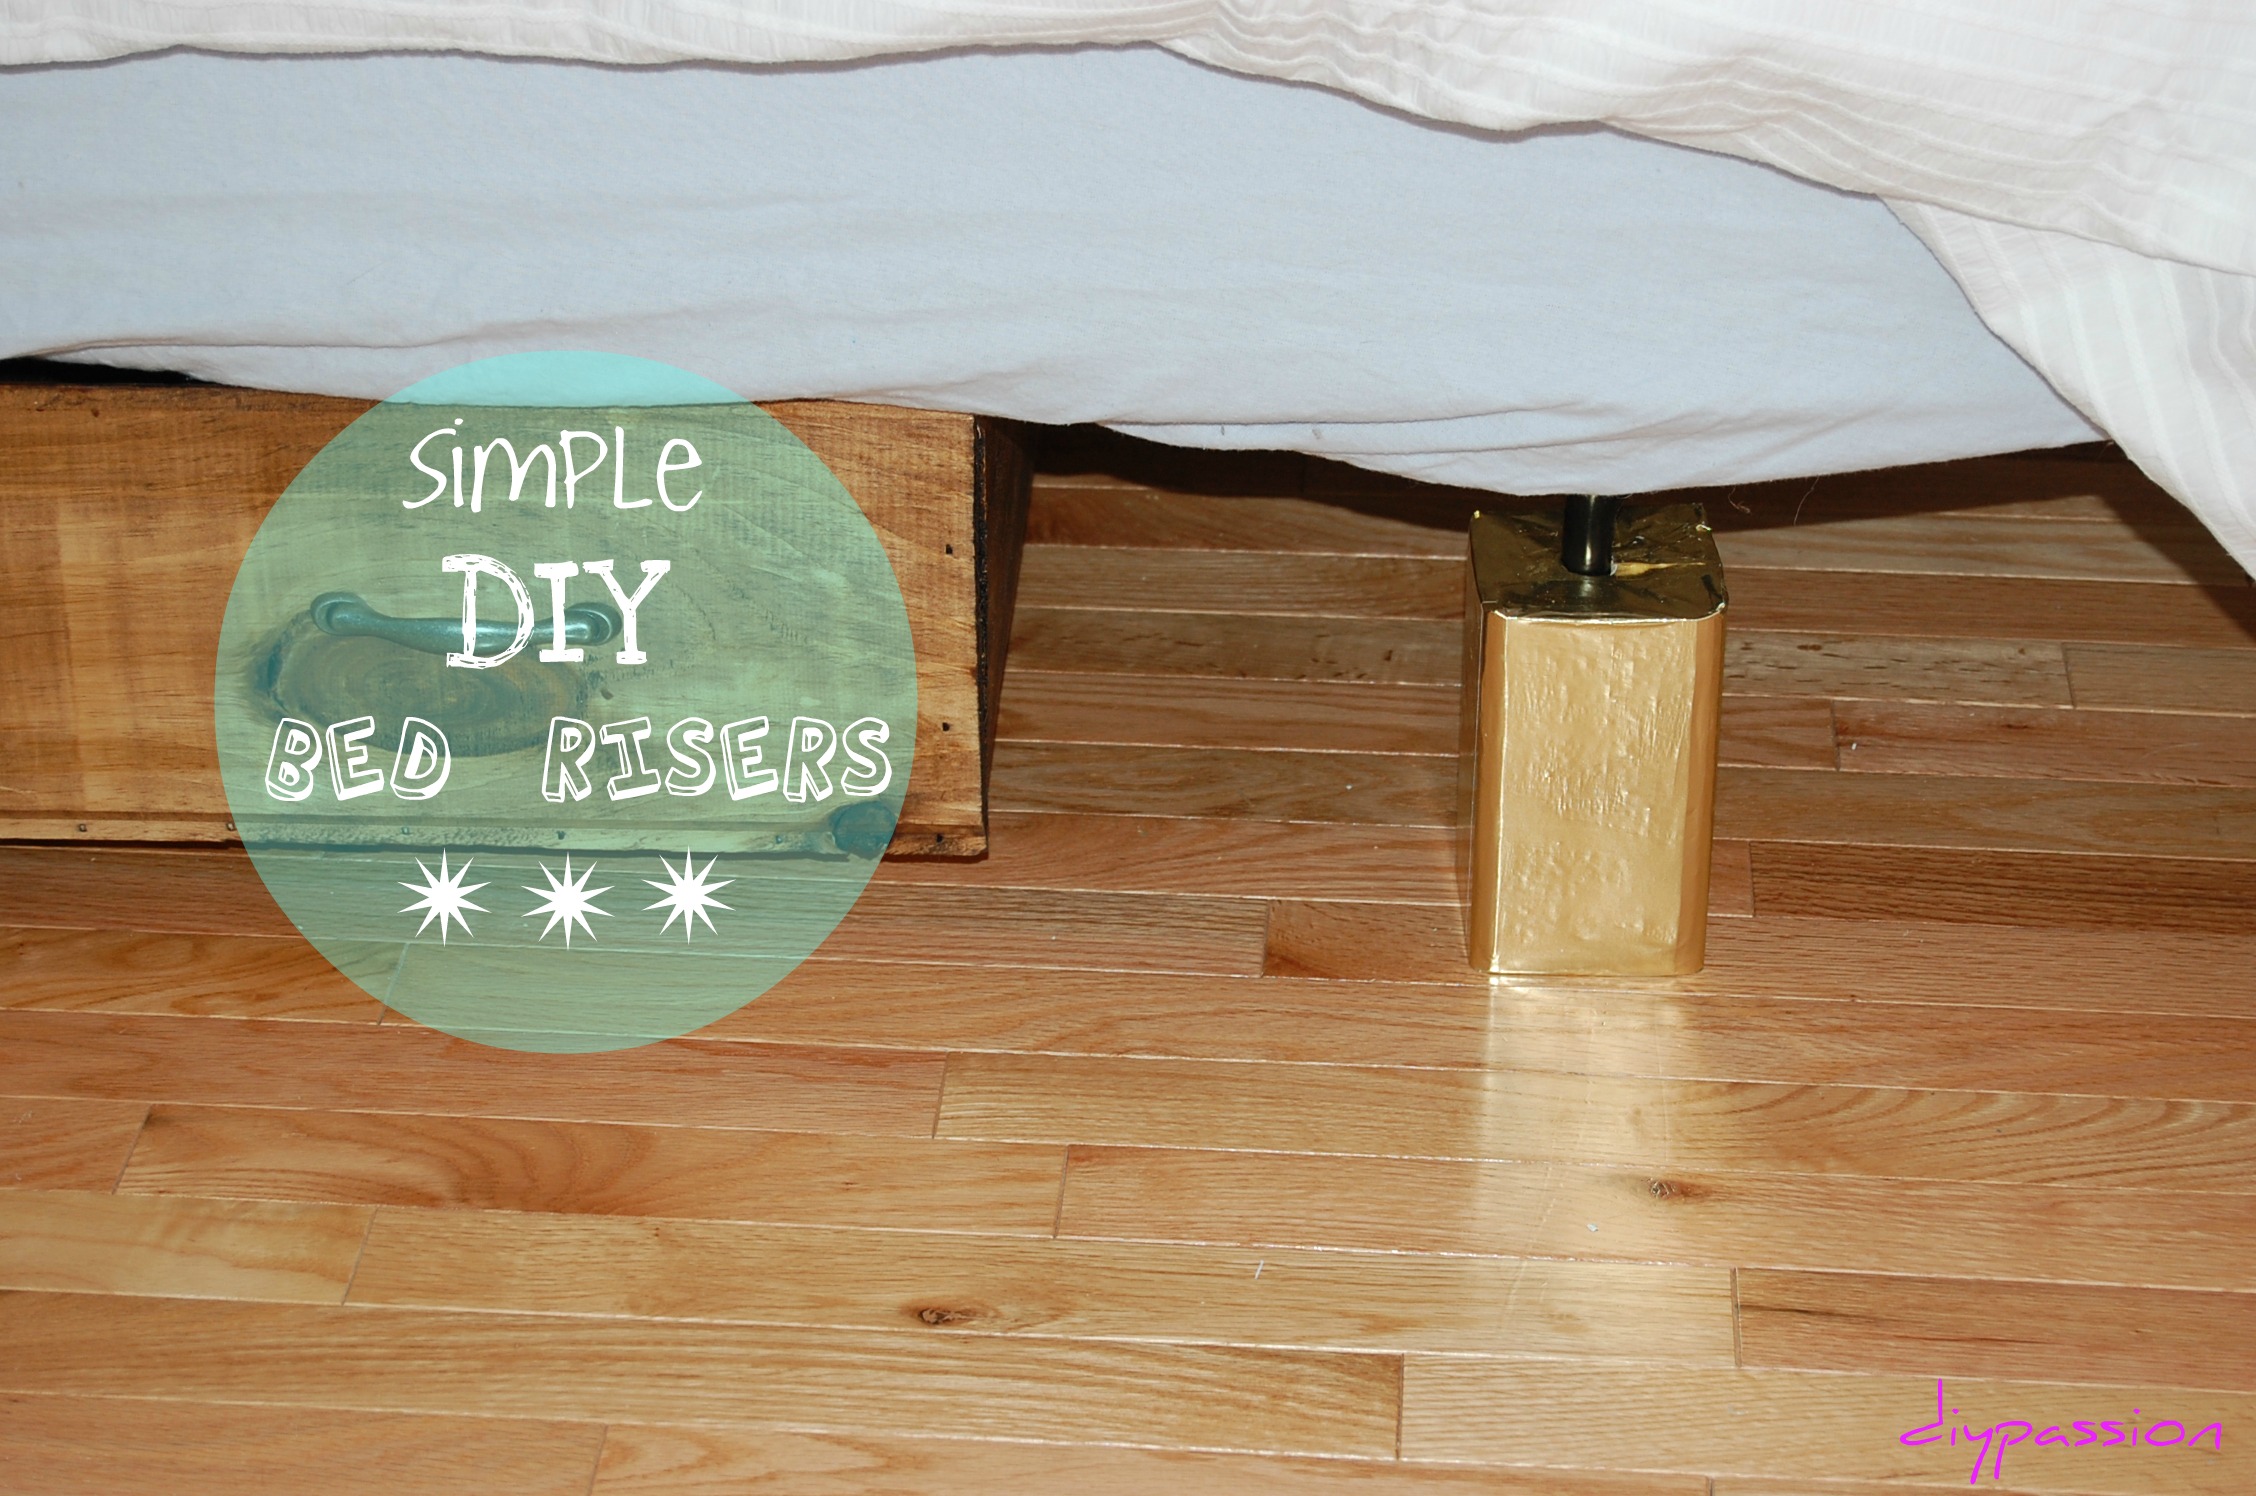
Here’s the beauty part about this – the cheapest or most inexpensive risers we found in a retail store were $10 for 4 inches. Some of the nicer wood ones cost as much as $35. These DIY ones cost $2. Yep, just $2! That’s all the lumber yard charged us for the 2 foot piece of post.

One thing I didn’t do, that I guess you could do if you’re concerned about them scratching the floor is to glue a piece of felt to the bottom. That also might help the bed glide better if you want it to move while making the bed or whatever.
 So there you have it! A super simple, done in 30 minutes storage solution!
Thanks for reading!
Erin
Sharing this post with
Thrifty Thursday, Inspire Me Please Blog Hop (Thurs/Fri), Pinworthy Projects Link-up (Friday), Creativity Unleashed (Friday), Grace at Home (Friday), Link it or Lump it (Sunday), DIY Show-off (Sunday), A Pretty Life in the Suburbs (Sunday), Making Monday, The DIYers (Monday), Take A Look Tuesday Sugar Bee Crafts, Home Stories A to Z (Tuesday), Elizabeth Joan Designs (Tuesday), Tip Junkie (Tuesday), Tweak it Tuesday, Kammy’s Korner, The DIY Dreamer (Tuesday)

Girl, I am loving everything you’re doing! I’m so happy to have found your blog!
Hooray for new friends! 🙂
Ooooo, that is so clever – I’d love to have more storage under the beds (for y’know, spare bags, shoes, etc etc!!!). And hubby is a dab hand with power tools – thank you!
Thanks Vanessa! I couldn’t believe how easy it actually was 🙂 Good luck, Erin
I did that with the bed in my first apartment 25 years ago! I was broke, but needed more storage so I went to my parents and found a 4 x4.